A Rush — Outside
Map board
Train / tactical overlay
 AB
Round script
Execution sequence
Mission brief
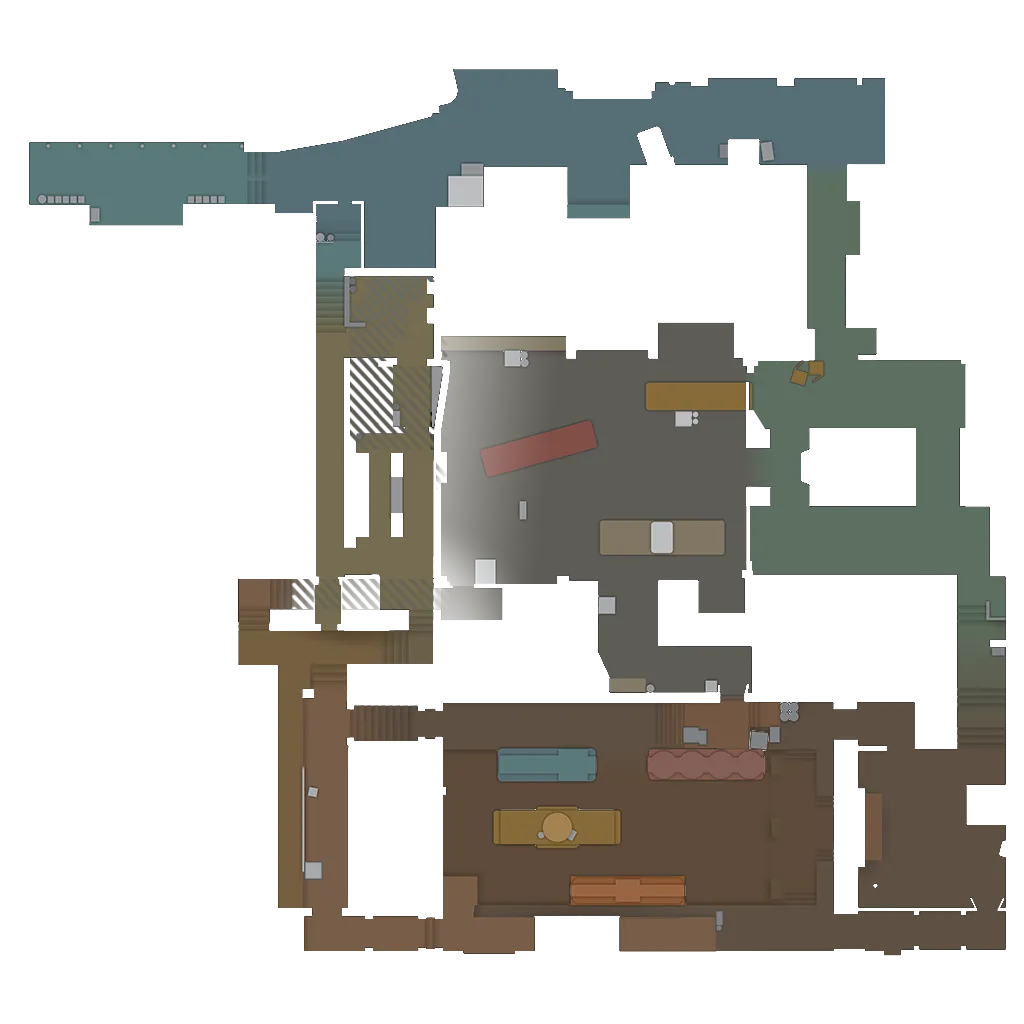
All five sprint Outside A on pistol round. Support stops at Dumpster to jumpthrow the Connector smoke, then two pop-flashes to blind the Ebox and Popdog holds. Entry and AWPer hit the site at full speed; IGL watches Popdog on entry; lurker plants A default the moment site is called clear.
Your assignment
Entry
Front of the rush. Swing through Outside the moment the flash pops and clear the left side of A site.
Execution rail / elapsed time + round clock
Setup
Map control
Execute
Scroll or use ← → to advance
Speed is the defense. Do not stop in the corridor to duel — take the damage, keep running, and let the trade happen on site. Abort trigger: IGL calls two CTs at Popdog before entry swings — call B rotate loud and turn the whole team back through T-spawn. Do not half-commit.
Utility package
Used in this strat (3)
Utility package
All Train lineups (9)
Continue briefing
More on Train
- 01
A Execute — Outside A
A siteComplexity 3/3Coordinated 3–2 split to A site. Entry, support, and AWPer approach via Radio and Dumpster behind four smokes — jumpthrow Connector and stationary Popdog are the precision anchors. IGL times A Halls to cut the CT rotate while the lurker sits Z connector to freeze any B-side reinforcement.
- 02
A Pistol — Ivy
A siteComplexity 1/3Pistol round through Ivy as a five-man snake. Single file up Ivy at 1:40, one flash over the Ivy exit, then the whole team pours onto A from the CT-side door the defenders least expect on pistol. Support carries and plants; the post-plant collapses back to Ivy and popdog for close-range holds.
- 03
A Split — Main / Ivy
A siteComplexity 2/33–2 A split modeled on Aurora's MainIvy Split. The Main trio (entry, support, IGL) stacks Dumpster and enters A through T Main/Outside behind Connector and Popdog smokes; the Ivy duo (AWPer, lurker) takes Ivy control early and breaks in from the Ivy exit on a pop flash, catching the A defenders between both entrances. Entry carries the bomb and plants A default.
- 04
B Contact — Upper Route
B siteComplexity 2/3Rifle contact hit on B through the upper/yard route — no pre-hit utility. Entry and support cross yard along the trains and drop into B; AWPer and IGL follow through Z connector as the second wave; lurker pins A with noise at popdog so the rotate hesitates. All nades stay pocketed for the post-plant.
- 05
B Execute — B Halls
B siteComplexity 2/3Four-man B Halls execute behind Z connector smoke, Bomb Car smoke, and a B Halls flash. Lurker pins the A side from the start to prevent a CT rush through halls or a fast rotate. IGL calls it from the halls stack and smokes Z connector to cut the rotate. Entry leads the breach, support throws the flash and trades, AWPer secures Yard post-clear.